Sedna HR35 Rasmus #277

Sedna HR35 Rasmus #277

Thursday, November 27, 2014

Seacocks

Probably one of a boat's greatest vulnerabilities is thru-hulls... ie. holes in the bottom of the boat.  

A seacock is the valve attached to the thru-hull that keeps the water we're floating in from becoming water that's flowing in.

Traditionally, below the waterline thru-hulls and seacocks are made of cast Bronze.  

Like copper, bronze may develop a green patina.  The patina itself is not a problem, but I like to clean it off with baking soda paste and a brush just to expose cracks or pits.  


If there was a leak on a clean valve, like the one to the right, the green patina would show first near the problem spot.


I think the galley sink seacock has a leak from the drain hose, but it is so slight I can't see it leak... So I buffed it up and I'll watch the valve for the first signs of staining.


 Sedna's seacocks resemble Wilcox-Crittenden Seacox and the link has full installation and maintenance instructions.

I won't be taking my boat out of the water for the winter, so I did want to grease the valves in place. 

This is done by removing the little 1/8" drain plug(s) on the housing body. (The plug is to allow all water to escape the valve when winterizing your boat).

Screw a Grease Zerk into the hole and squirt grease into the hole.  I loosen the retaining nuts on the end on the valve plug and work the valve handle to move the grease around.  Then I adjust the retaining nuts, remove the grease zerk, and replace the bronze plug.  

The square head of the 1/8" plug on this valve was corroded, so I replaced it with a new one for $5.  They aren't necessarily easy to find, I had to order mine online from West Marine.  I was able to find brass plugs for a $1.20 through a plumbing supply store, but feared they would corrode too quickly.  Out of 6 seacocks on the boat, I only had to replace one drain plug and bought one as an extra.


This shows the difference in appearance between a Brass (left) and Bronze (right) plugs...


Inflatable Solar Powered LED Light

Few weeks ago I got a solar powered light at West Marine for $15.  Part of the money goes to Haitian Earthquake remediation.

They are called Luci and were evidently invented in response to the Hurricane in Haiti.  The light is solar powered and has an inflatable case, so it floats.

When deflated, the light is about the size of a pancake. a ring of LEDs provide the light.

There is a low beam, high beam, and flashing.

Seems like a charge only lasts a couple hours so I'm not too sure how good it is as an emergency light.  It works pretty good as a reading light while your partner is sleeping...


Saturday, October 18, 2014

Composting Toilet Part 2 - Pooped again


I left off, nearly a year ago, with my Head rip-out and replacement with a composting toilet.  


just to recap, my motivation...


miles of sewage hoses and a holding tank that drained back into the toilet while sailing.


With my toilet ripped out of the head, I got some jobs working Monday to Friday out of town. 


As you can guess, I wasn't motivated to work on the project when home on weekends.  So little progress was made.


To exacerbate the situation...


...
as projects often go, the deeper I dug, the more work I wanted to do "while I was at it". 


I replaced the old fresh water hose throughout the boat.


I rebuilt the head vanity replacing the old cabinet with new hardwood ply and replacing the old faux wood formica with new ply covered with faux slate tile :) I chose the darker tile on the right which blended in nicely with Sedna's mahogany interior.


I removed the vinyl wallpaper, scraped off the icky sticky glue, and painted the bulkheads with Interlux topsider. 


And finally I got back to the composting toilet. I built a cardboard mock-up of a simple square cabinet.  The pieces were my templates for cutting the plywood pieces later


... not a big deal for the simple rectangles, but very helpful for the toilet side/sink cabinet front that needed to conform to the hull shape.


I had a couple failed attempts at making a urine separator from pvc bedpans etc, then I decided to cut my losses and buy one from the Swedish company www.Separett-usa.com. Expensive? Yes. Worth it? I think so.


It has been harder than I expected to find acceptable receptacles.  I can't say I'm totally satisfied, but I have a workable solution.


I'm pretty happy with the 1.5 gal laundry detergent bottles for urine. 

The bottle in the picture has blue some "found" port-a-potty deodorizer.  I won't be buying any, but it is nice to have some additional color to identify the fluid level to avoid overflow.  That said, it takes me over a week before I empty the urine container.  I keep a spare in the cabinet beside the head.


I'm less happy with the $3.95 black Rubbermaid PVC wastebasket for solids.


It  is working fine for now, but I want to install a stirring paddle and I think the rectangular shape just won't work.


I painted the front of the cabinet with Interlux Topside, oiled the top, and replaced the mahogany trim throughout the head.


The proof of course is in the the pudding... or in this case "pooping" and I must add "sailing".


There is no pumping, no opening and closing valves, no unpleasant odor...

... just open the toilet lid sit down, do your thing, do the paperwork (if depositing solids), toss the paper in the toilet, close the lid and walk away.  If appropriate toss a cup of mulch into the toilet from the container in the cabinet. 

I can pee standing up or sitting down and the liquid goes down the right path. 


I won't pretend the project was easy or that everyone 
should take it on.  


As I mentioned my boat was out of commission for months.  There was no way I could have sailed with the awful mess of supplies and tools in the in the cockpit and saloon.


But once again I'm happily sailing...


Thursday, February 27, 2014

Sedna Sea Breeze Pale Ale

I finally opened the beer that I started brewing back in November 2013.  The key to this brew was the small 2 gal batch size due to the limited space onboard Sedna. This week I opened a couple bottles. Although I'd hoped for a hoppier flavor, the brew was quiet refreshing sort of like the breeze blowing in off the Pacific. 

Friday, January 3, 2014

Sedna's Letters

Few months ago I bought new letters for Sedna's name and home port.

Initially I matched the size of the prior home port letters which were only 3" tall. USCG calls for 4" tall block letters for the home port.

Saturday, November 30, 2013

Composting Toilet - Part 1: My Head-Ache

Living in a marina and sailing inland waters, 
it's not only against the law to pump sewage overboard, it's just wrong.  So a modern marine head pumps poop and pee into a holding tank...  

Sedna's holding tank was forward under the vberth with a pumpout opening on the deck.  

Every once in a while I'd motor over to the pump out station and empty the tank. The pump out works like a giant vacuum cleaner and with a little practice I didn't get a faceful of ick when doing it. 


But I had a few issues with this arrangement.

1. The input for water to the toilet was down under the floorboards meaning I had to lift the boards and open and close the valve when coming to the boat or leaving for any length of time.  No one wants to come home after a week away to find their house underwater from a ruptured hose.


2. The hoses in the head (bathroom) rose up 4 feet on the wall looking ugly and requiring a lot of pumping to get the sewage up over the peak so that gravity could do it's thing.


3.  The hose to the holding tank was so long that poo-water was trapped in the line and backflowed into the head (toilet) if one didn't close the valve every time one used the toilet.  


Most guests do not enjoy taking a master level course in plumbing just to go to the bathroom.


The daunting task of fixing my head was inevitable.

I just couldn't see how simply replacing my toilet was going to solve my issues.  I could move the holding tank closer to the Head and shorten the hoses.  I could replace gaskets and couplings.  No matter what, I'd still be packing a tank full of stinky sewage.  And... I'd have the big loops of hoses and holes (sea cocks) in the bottom of my boat.

I began researching other options and what I found surprised me.

There were threads on Cruisers Forum from happy converts to composting toilets. Then there were the You TubesBlogs, and Waterless Toilet Web Sites (SeparettNatures HeadAir HeadC-Head).  Being a lifelong tree hugger, I was off and running.


Next thing I knew I was ripping out my old head and plumbing.  Believe me, it was a dirty gross job.  

The worst part was removing the hoses.  I tried decoupling, and finally resorted to sawing, ripping, and yanking with authority!


There was the issue of the through hull to be plugged.  


I tapped in a temporary wooden plug, but I still had this thing about coming home from working out of town all week to a sunken boat. And I knew from trial that the open sea cock gushed like a fire hose.  This little issue was solved by an expanding neoprene plug from the hardware store (cost $4).  I did replace the standard washers, bolt, and nut that came with the plug with stainless steel to avoid galvanic corrosion. 


I needed a temporary toilet during the reconstruction and chose a simple 5 gal bucket from Home Depot with my old toilet seat atop.  For now, I pee into a separate container.  Eventually I will have a urine separating toilet (more about that later). 


A trip to the garden center and a couple bucks and I had my peat moss compost base.  


Amazingly, even this simple solution is contained and doesn't smell like poop.
I have a temporary lid with vent for when I'm out of town to improve air flow and keep the material in the bucket dry.  I've also tried adding ashes from my wood stove, coffee grounds, and bought a coco-hull brick for composting medium.  I read coffee is a natural pesticide.

 
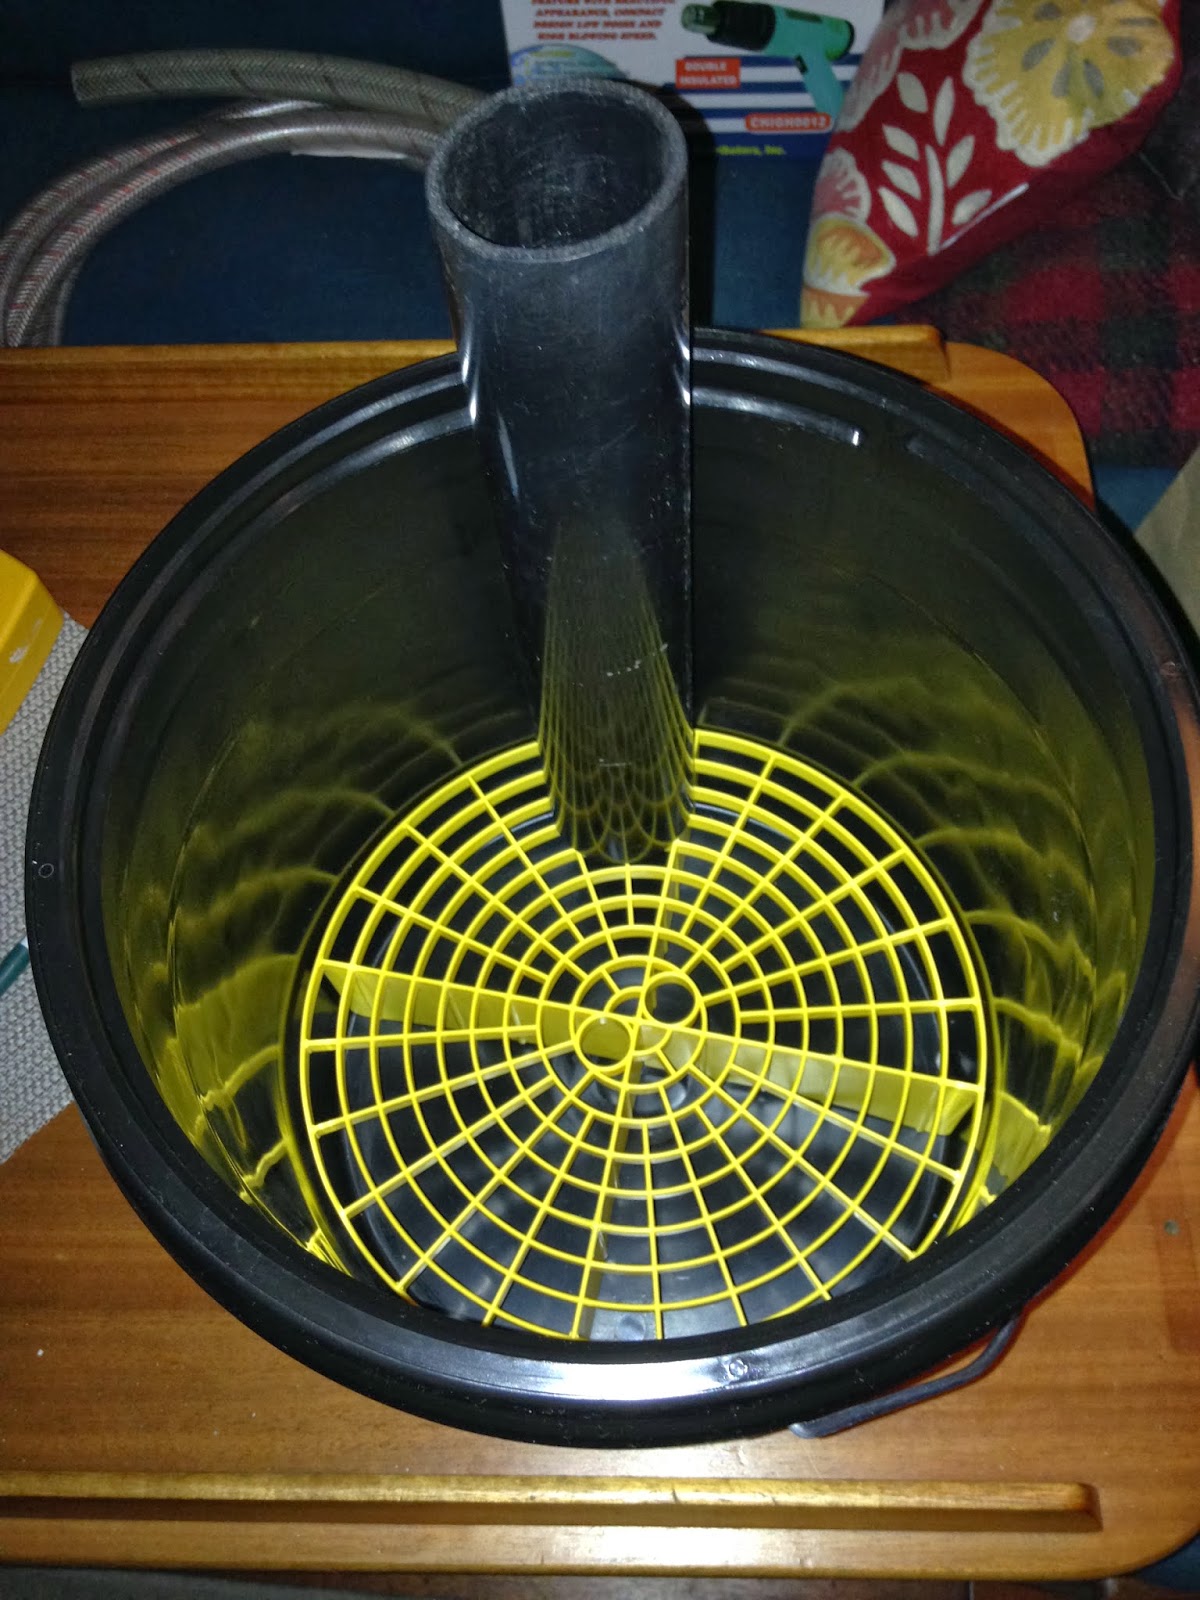
I bought some black buckets because they apparently keep the bugs/flies at bay.  I got some screw lids, grates, and PVC tubing.  One nice thing, all this stuff is cheap and simple to work with.


Now I'm in the design and mock-up stage.  My challenge is the small space available, won't hold a commercially built unit so I'm going DIY...  I downloaded a 3D modeling tool called Sketchup and I'm really having fun with the whole project.

Brewing Beer Onboard


A couple of threads on Cruisers Forum discussed the practicality of brewing beer onboard.  I brewed up a batch yesterday... so took the opportunity to document what has worked for me. 

Having brewed my own beer since 1982, I wasn't about to stop just because my home is now a boat.  Few supplies are required and, due to the lack of space, I have minimized the process and the size of everything involved. 


Rather than cooking whole grain and sparging, I use powered malt.  

Rather than dry hopping, I use pellets.  


And rather than fermenting in a 5-6 gal carboy I use 1 gal glass jugs. In the old days cider and vinegar came in these, but I haven't seen glass in grocery stores for a long time.  You can buys jugs like these at a brewing store for about $3 ea.  I usually shop at Steinbart's in Portland, OR or Bader's in Vancouver, WA... both have an online stores and ship if you don't happen to live in Beervana


I first went to F.H.Steinbart Company when I was 10 yrs old (1964).  My father owned a draft beer equipment company in Boise, ID and we would make an annual pilgrimage to the warehouse of plenty... so they know a thing or two about beer.  But I digress...

After washing everything with a mild chlorine bleach solution (I think I read 1 oz of bleach per 5 gallons of water was enough, so I just use a splash)... I fill the bottom of my 1 gal jugs with a few inches of fresh cool water while bringing (1.5 qt) water to a boil in my pasta pot. I also heat water in a smaller pan to a boil at the same time. 


I stir in about 1 lb of powdered malt per gallon of brew. Careful not to boil over, it's a sticky mess! I also stir in a tad of malt to the small pan of water, but turn the burner off, cover, and let it cool.  Keep the larger pot at almost a boil (simmer?) and stir the wort for about 15-20 minutes. 


Add a packet of hop pellets to the small pan and stir until the pellets dissolve and the hop powder is well suspended in the mixture.  


Carefully pour the wort from the large pot into the glass jugs. The cool water in the bottom of the jugs keeps them from cracking... there's no hurry, so relax and avoid burns... the wort needs to cool anyway before you add the yeast.  


When the wort in the 1 gal bottles is cooled to room temperature, dissolve the packet of yeast in the small pan of room temperature hopped wort and pour into the jugs.

Tada!!! It's on it's way to being beer, and now just wait about 1 week or so while nature to take its course.  Then we can bottle.


There is one little detail... During the first few days of initial fermentation, the beer foams and sometimes bubbles out the top of the carboy/jugs.  So, with a 5 gal carboy and dry hops, I put the carboy in a big wash tub and run a 1 in diameter hose from the mouth of the carboy to a gal bucket 1/4 full of water. This acts as an air trap.  


With the 1 gal jugs I plug a small diameter hose into the airlock corks run it to a container 1/4 full of water.  I'm leaving town for a week, so I won't miss my french press...


I forgot to take pix of the airlocks, but you can see them in the coffee cup. When I return, I'll fill them half full of water and replace the hoses with them. The airlocks should burp, blup, blup, blup... until the blups are about 30 secs apart. 

7015


Then I'll disolve 1/4 cup of corn sugar into simmering water, add that to the wort and siphon or pour the wort into snap cap beer bottles to condition for a little over a month.

The yeast settles in the bottom of the bottle, so I pour my beer into a glass for drinking and rinse the bottle immediately. In my opinion, the most difficult and crucial part of brewing is washing the bottles. 


I fill the bottles with a couple inches of chlorinated water and spin/scrub with a brush like this.  The wire handle bends to facilitate cleaning tough to reach locations like the top of the carboy/jug.


Tip: I wrap a wash rag around the mouth of the bottle of when pulling out the brush so the bristles won't splatter chlorine water all over. 


15 Bottles capped, I'll allow 4-8 weeks before opening the bottles and drinking. It depends a lot on conditions, mostly temperature, so bottling on New Years Eve, it'll probably be March 1 before this batch will be ready to drink.


I think one advantage of 1gallon carboys is that I can easily get another gallon or two brewing while these bottles condition and with good timing have some beer to drink, some bottle conditioning, and gallons in fermentation. 

Cheers and enjoy brewing. Try it, it is easy and rewarding.